DataScience in windows 10
Dear Data Scientist,
Do you still suffer from the “chaos evil” Windows operating system as your first dev place ?
- git doesn’t work as what I expected…
- ssh connection failed and Putty looks stupid….
- conda works well at first but pip might get destroyed right after update…
- Tensorflow seems friendly to Windows, a lot pretrained models in tensorhub can be used only in Linux kernel….
- Or just get tired of windows ?
Here is some Good News:
- WSL2 is totally different from the first version. It has a full capacity linux kernel.
- Many available Linux Kernels: SUSE / Debian / ubuntu / etc…
Here, I’ve got a full tutorial for how to use Windows Subsystem Linux version 2 (WSL2) with VS code
Linux on Windows, here we go !
Good luck !
Table of Content
- DataScience in windows 10
- Table of Content
- What is this WSL ?
- Tutorial 1 : Get your WSL2 and install Linux distribution
- Tutorial 2 : Set up Data Science Environment in WSL2
- Tutorial 3 : Best Terminal (Option)
- Tutorial 4 : Work with git and ssh (Option)
- TODO list
- Some Links
What is this WSL ?
wikipedia : WSL
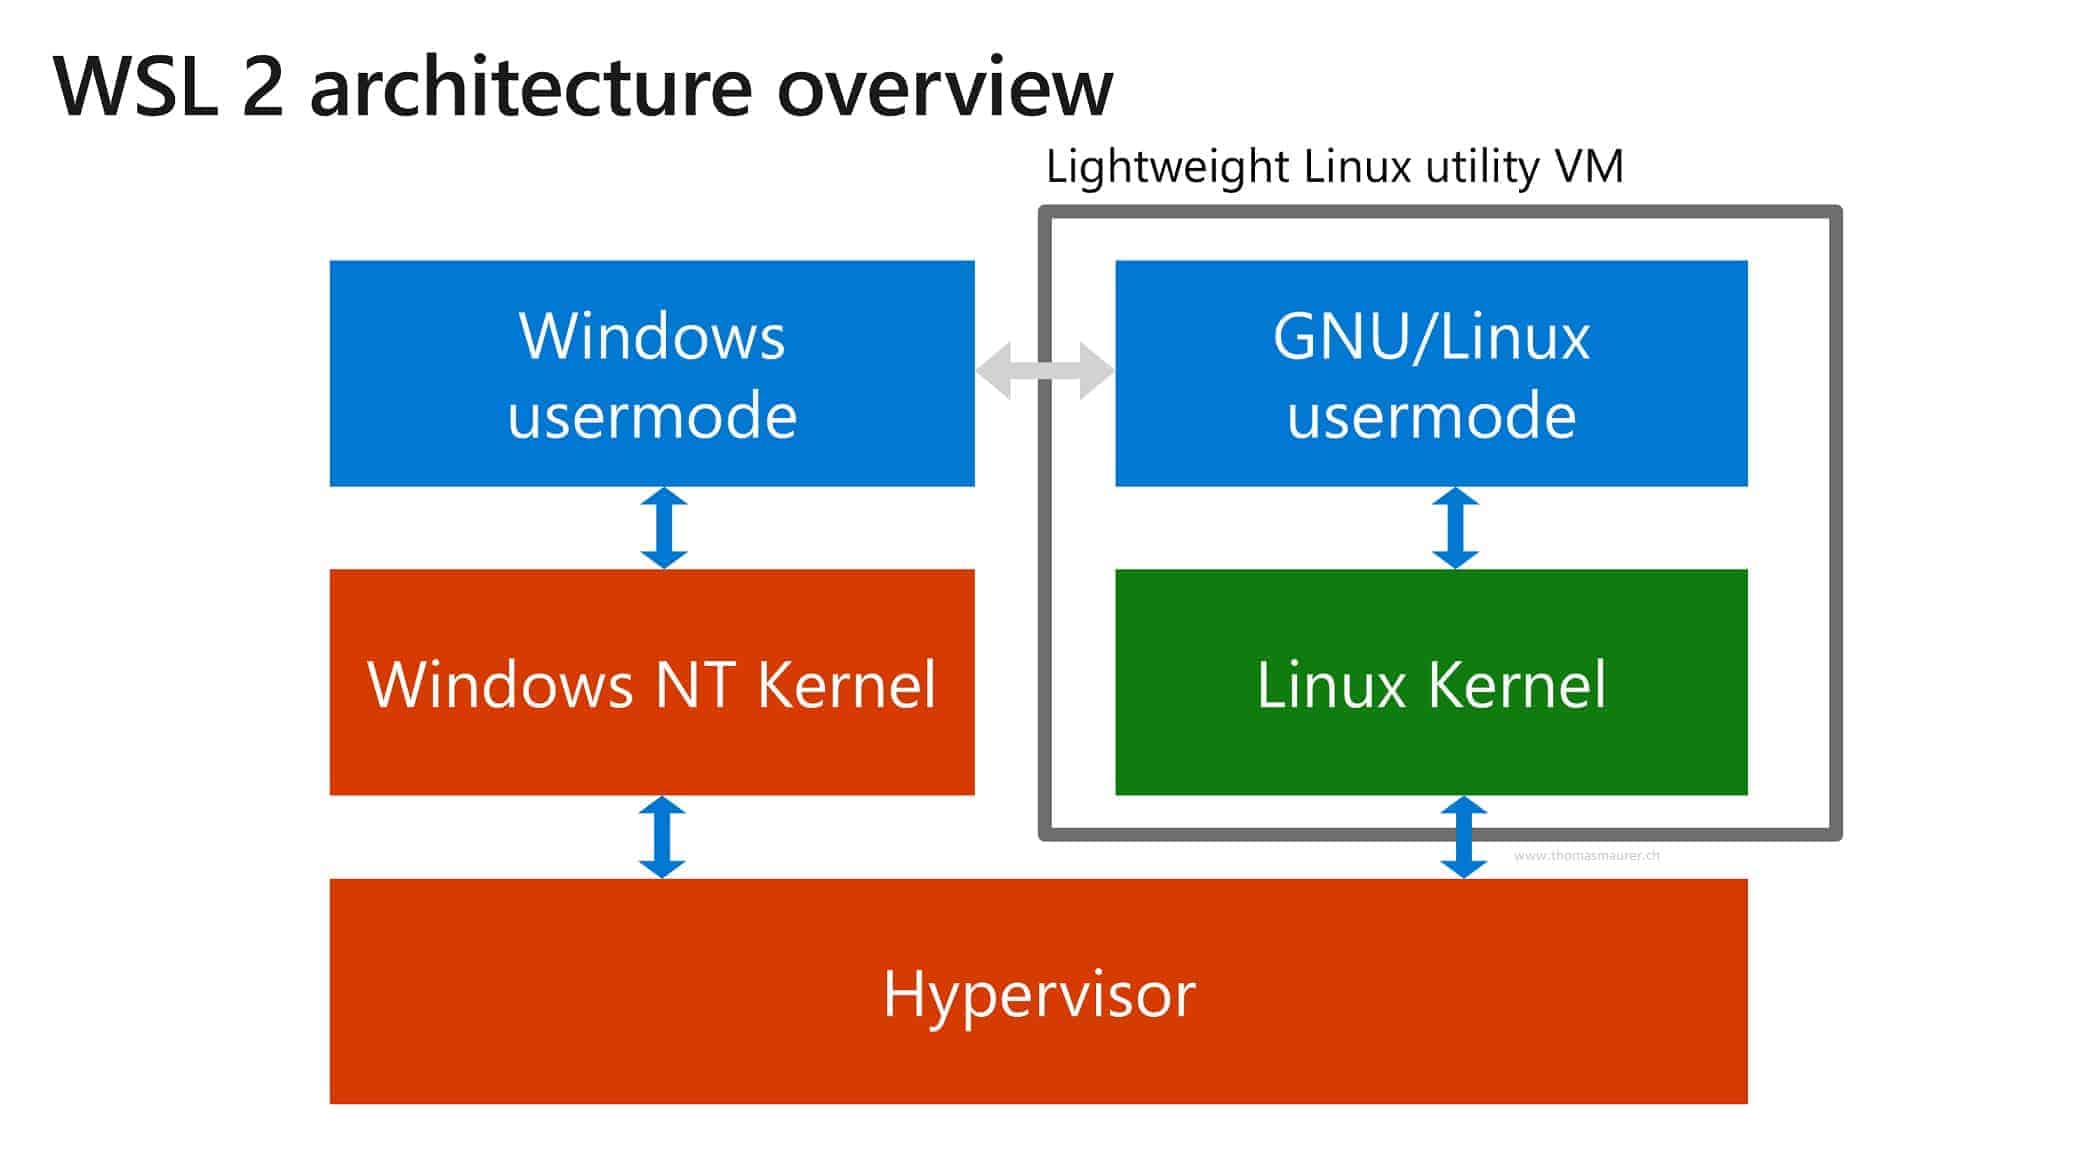
Intuitively, the WSL2 is a lightweight Linux Vitual Machine based on the Hypervisor, same as Windows.
Advantages is:
- Almost full featured Linux
- Shared RAM and ROM,
- CUDA available
Disadvantage is :
- Linux Distro can only stay at your Disk-C…(you might need a big “C:\”)
(I don’t know much about operating system, tell me if I say something wrong xD)
Tutorial 1 : Get your WSL2 and install Linux distribution
IMPORTANT :
- Windows 10 s can’t have a WSL !!!! Buy a pro version key, pls (or hack it…)
- If you have already had a WSL version 1, this tutor does work for your case !
1. Update Windows 10
Check Windows version
Open Run :  win + R
type : winver
select : OK
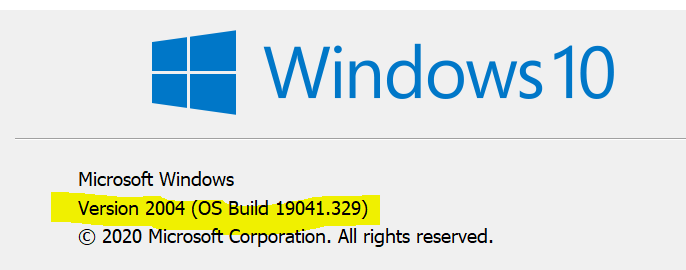
if Windows 10 version is lower than version 2004, Build 19041.
2. Install and Set WSL-2
Go to windows setup, and turn on the Developer Mode
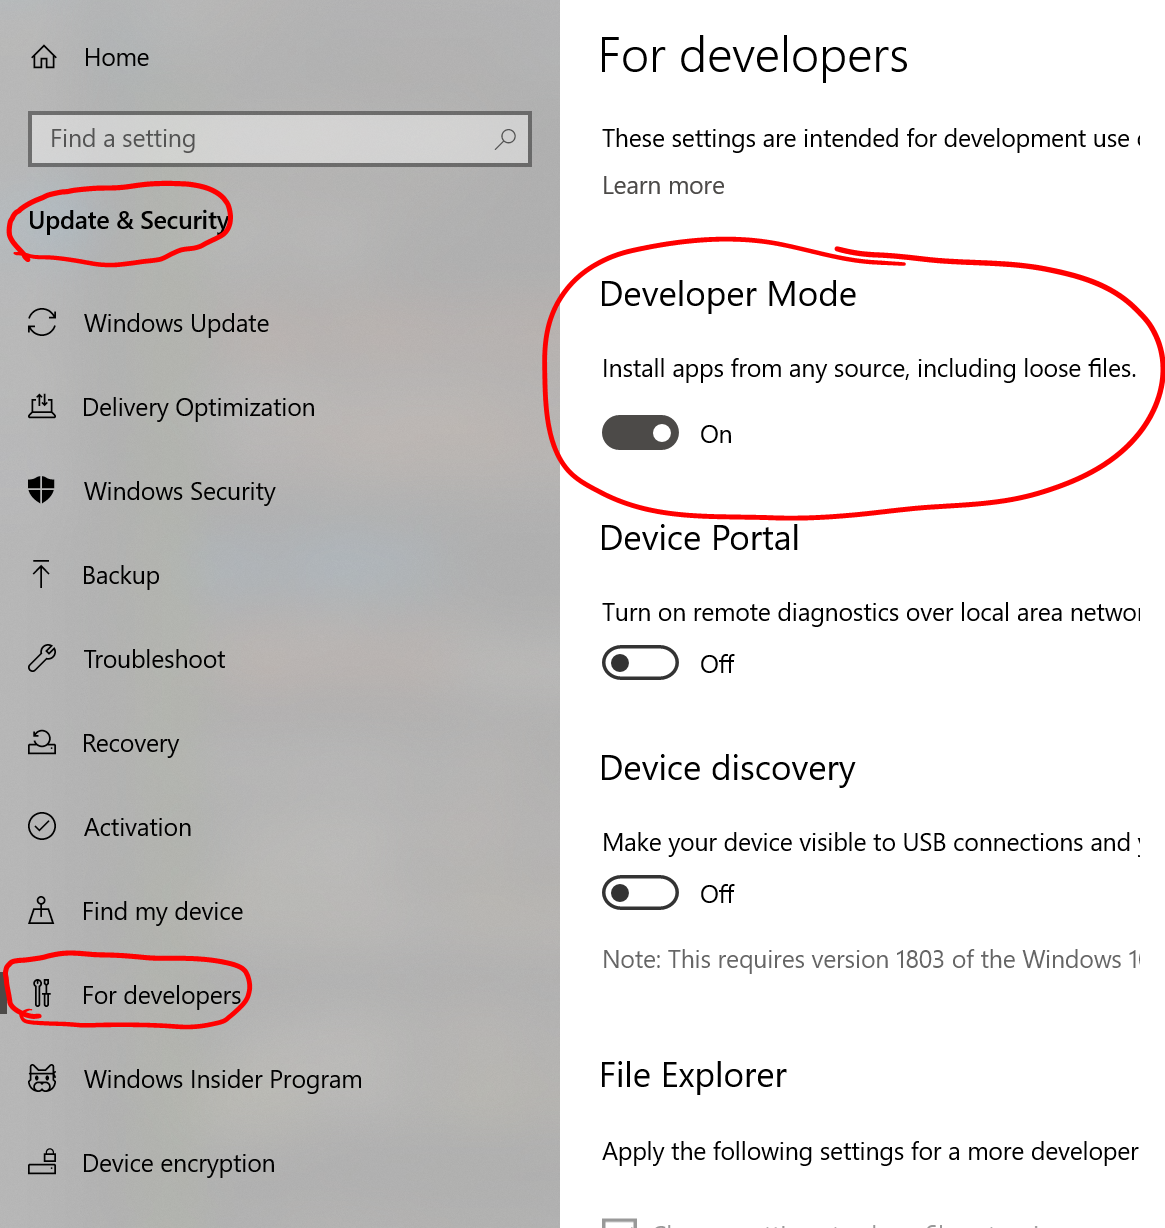
It will take a couple of time. Don’t worry!
After that:
Open PowerShell as Admin
- Run following command to enbale WSL
dism.exe /online /enable-feature /featurename:Microsoft-Windows-Subsystem-Linux /all /norestart
- Run followeing commande to enable Virual Machine Platform for WSL-2
dism.exe /online /enable-feature /featurename:VirtualMachinePlatform /all /norestart
PS : you may need to restart your machine for several times, it’s ok !
- Run following commande to Set WSL 2 as default
wsl --set-default-version 2
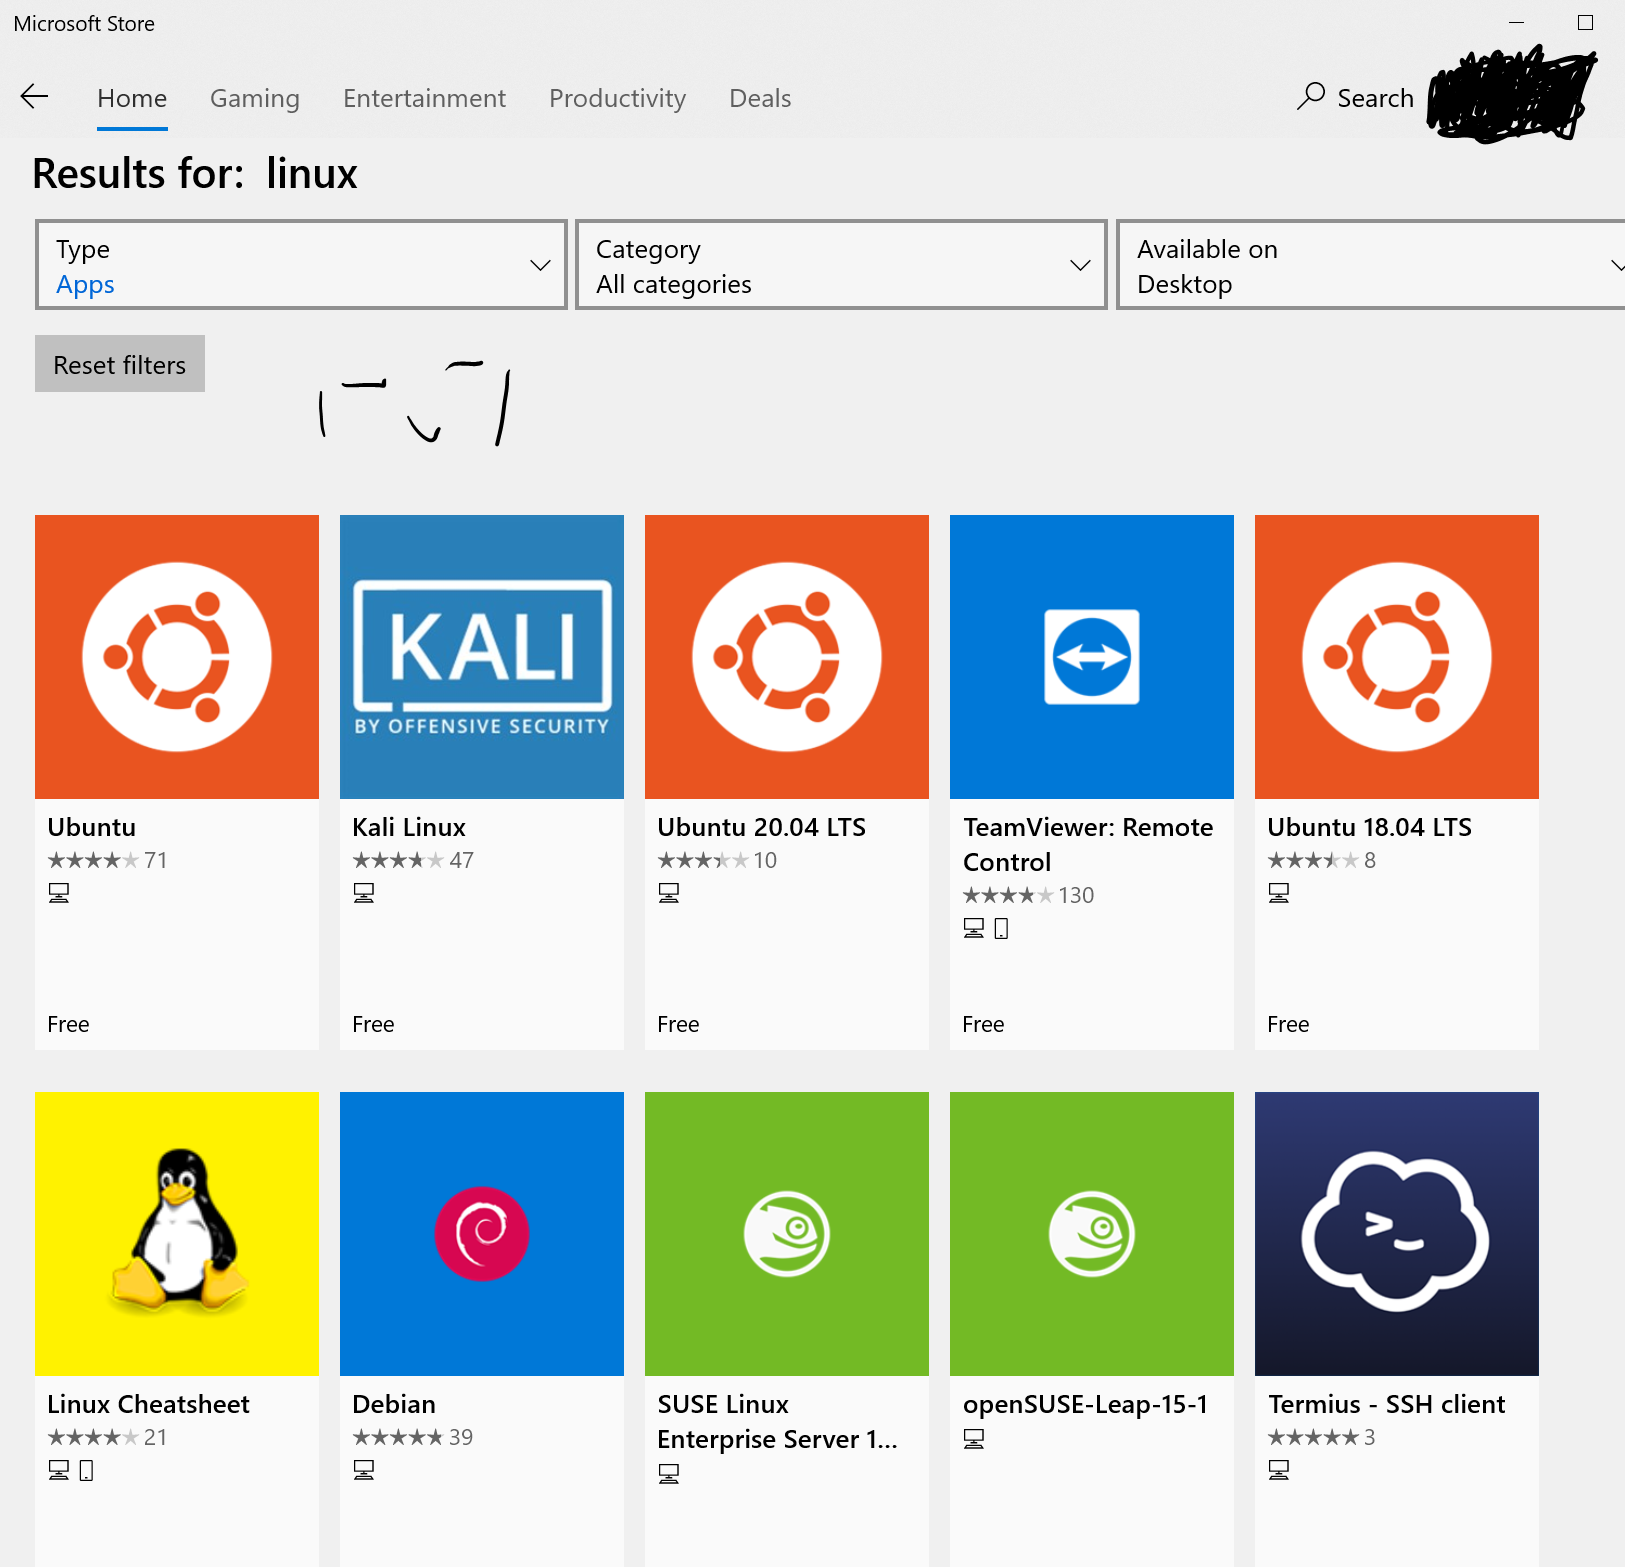
3. Install Linux Distribution from Microsoft Store
Choice what u want and install it!
PS : Then, Initialize the distro, if u want some helps:
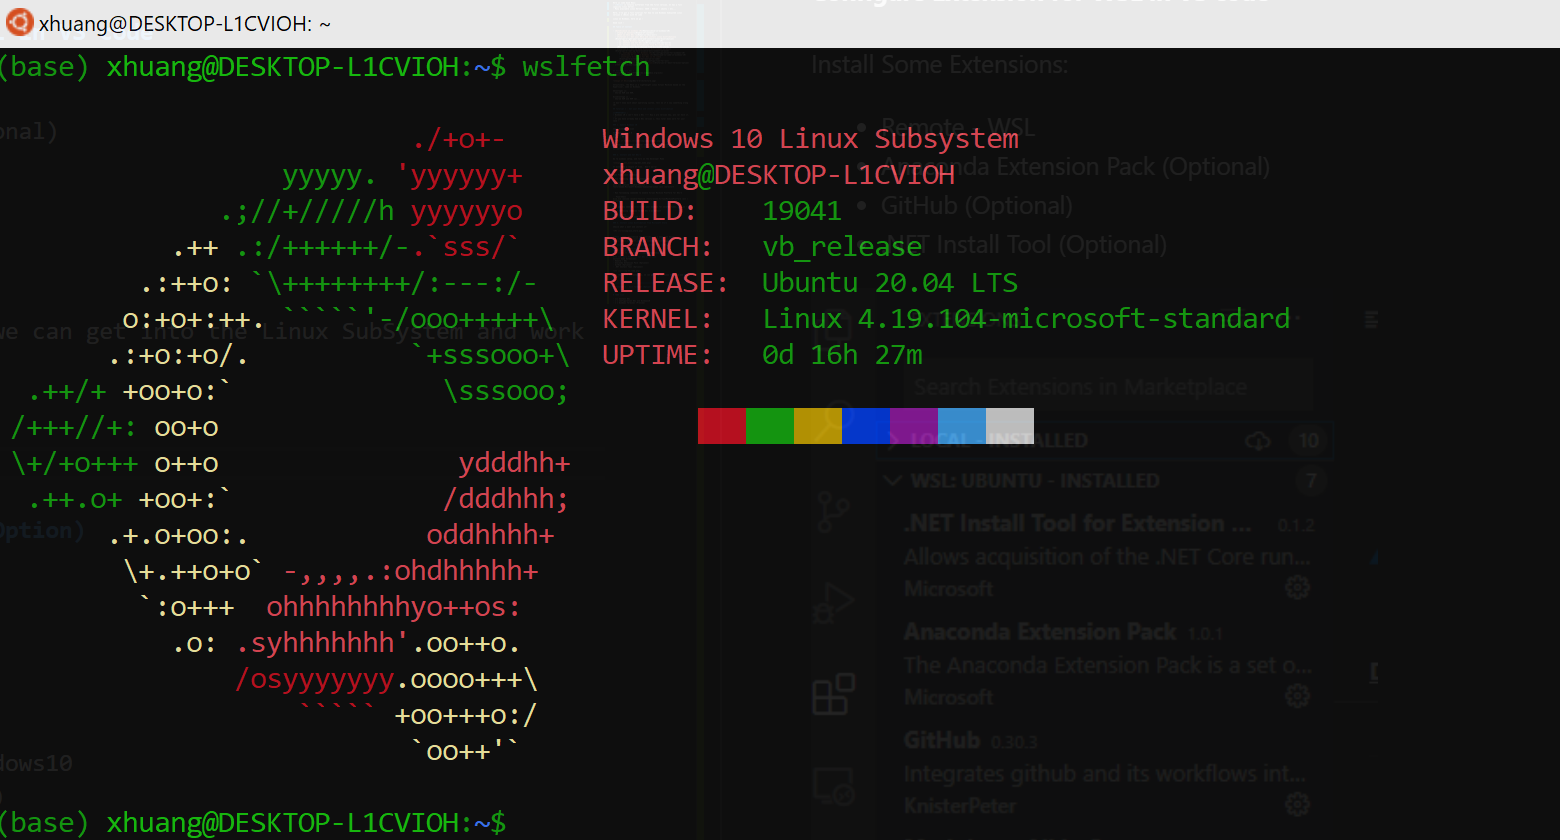
When Linux Distro installed successfully, you will see it:
Tutorial 2 : Set up Data Science Environment in WSL2
1. Configuration for WSL
Run following to install Miniconda and useful libraries
$ wget  https://repo.anaconda.com/miniconda/Miniconda3-latest-Linux-x86_64.sh
$ bash Miniconda3-latest-Linux-x86_64.sh

# install jupyter and commun packages
$ conda install jupyter
$ pip install urllib requests pandas scikit-learn matplotlib seaborn plotly tensorflow
2. Configuration for Windows 10
Download VS code in Windows 10
Configure Extension for WSL in VS code
Install Some Extensions:
- Remote - WSL
- Anaconda Extension Pack (Optional)
- GitHub (Optional)
- .NET Install Tool (Optional)
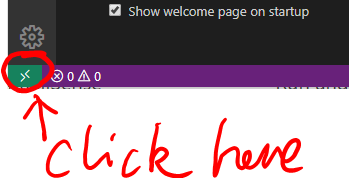
With the Remote-WSL extension, we can get into the Linux SubSystem and work on it!
Click Here and connect to your WSL2 in a New Windows
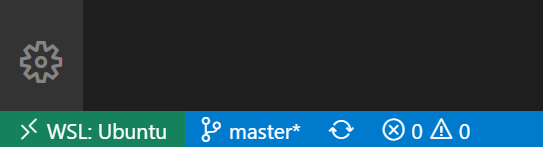
If connection goes well, you will see
Then re-install those Extensions in your WSL
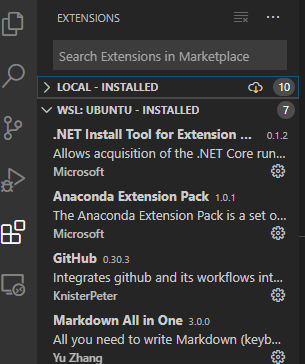
Congratulations, your Linux Env is ready for you !
Tutorial 3 : Best Terminal (Option)
pass
Tutorial 4 : Work with git and ssh (Option)
pass
TODO list
- Install WSL
- Configuration WSL and Windows10
- Windows Terminal (Preview)
- git and ssh